Last updated: December 31st, 2023
The garage door remote control is a convenient device that allows you to open and close your garage door remotely. Changing your remote’s battery is a simple process that can be completed in four easy steps:
Step 1: Remove the Remote’s Battery Cover
Different garage door opener remotes may have slight variations. There are three common types of remote covers:
- Slide-off: Use your fingertip.
- Pry-off: Use a flat-headed screwdriver.
- Screw-off: Use a designated screwdriver.
Proceed to remove the remote’s cover to access the battery inside.
Step 2: Remove the Battery and Buy a Replacement
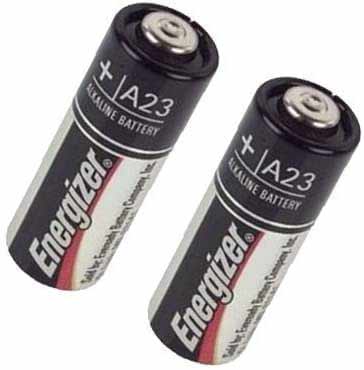
After removing the cover, you’ll have a clear view of the battery. Most garage door remotes use a small 3V CR2032 lithium coin cell battery, while some older remotes may use A23 batteries.

Take out the old battery from your remote and bring it with you when purchasing a replacement. These batteries are readily available at local hardware stores, Dollar Tree, 99 Cent stores, as well as O’Reilly and AutoZone.
Step 3: Put the New Battery into Your Remote
Insert the new battery into your remote. If you have A23 batteries, there should be an indicator on your battery compartment that shows you the correct direction for battery insertion.
For a cell battery, make sure to place it with the positive side facing up.
Step 4: Put the Cover Back on Your Remote
Once the battery is back in place, reattach the cover to your remote and test it out. It should be good to go and working like new again.
How to Tell When Your Remote Battery Is Low
Like other electronic remote devices, the garage door opener remote operates on batteries, typically lasting 2 to 5 years, depending on usage and battery type. You can tell that the battery is nearing the end of its useful life when there is a lack of blinking LED lights on your remote, the garage door will work only when up close or intermittently, and there is a much slower response when you use your remote to open and close your garage door. Recognizing these signs allows you to replace the battery before it’s completely drained.
Remote Isn’t Working After Replacing the Battery
If the remote is not working, double-check to ensure your batteries are correctly installed. If the remote still doesn’t work, you may need to reprogram it to the opener. This can be done by pressing the opener’s ‘learn’ button and then the button of your choice on the remote control. Keep in mind that the programming process may vary slightly from one model to another, so consult your opener or remote owner’s manual for detailed instructions.
If your garage door remote won’t program to the opener or operate the garage door, even after replacing the batteries, several issues may be at play. The remote itself could be defective, the opener’s vacation mode may be active, or the opener’s receiver could be malfunctioning. If the remote works intermittently or only from close distance, there may be a frequency interference problem in your garage. On the other hand, if the garage door won’t close using the remote but will open, it might be due to sensors misalignment. Consider consulting a licensed garage door repair company if needed.
Keep in mind that modern garage door openers or designated retrofitting kits allow you to monitor and control your garage doors via smart devices. You can also program your opener to your car if your car has a HomeLink function. These features eliminate the need to use handheld remote controls and replace their batteries altogether.


Hi
on my Genie garage remotes after replacing both batteries one only works opening up and won’t go down, do I have to reprogram ?
Hello Gene, if your garage door opener is receiving the signal to open the door, the remotes are already programmed. You might have a different problem. Learn more about a garage door that won’t close.