In 1992, the U.S. Consumer Product Safety Commission mandated that garage door openers manufactured after January 1, 1993, must comply with the UL 325 standard for safety and be equipped with sensors in order to prevent entrapment.
Types of Garage Door Sensors and How They Work
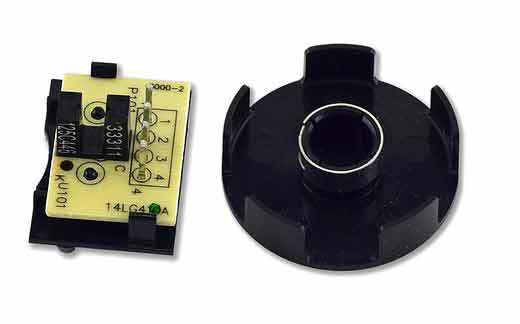
1. RPM Sensor: The RPM sensor is built inside the opener unit. It measures the electric motor’s speed and is designed to halt the door operation if there’s a sudden change in speed. Simply put, RPM sensors prevent entrapment by detecting pressure when the garage door comes into contact with an obstacle. Modern garage door openers may come equipped with a travel module, which is responsible for detecting excessive force and preventing the garage door from closing.

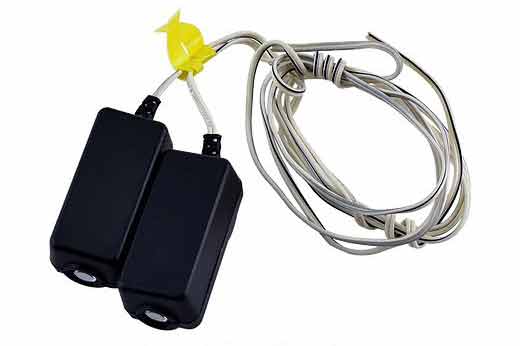
2. Photoelectric Sensors: Photoelectric sensors are non-contact safety devices designed to prevent the garage door from closing if anything blocks the sensors while the door is closing. This system consists of an active sensor (sender) and a passive sensor (receiver). The active sensor emits an infrared beam across the garage opening to the receiver sensor. When the beam is obstructed during a closing cycle, the garage door opener will reverse.

How to Properly Install Garage Door Safety Sensors
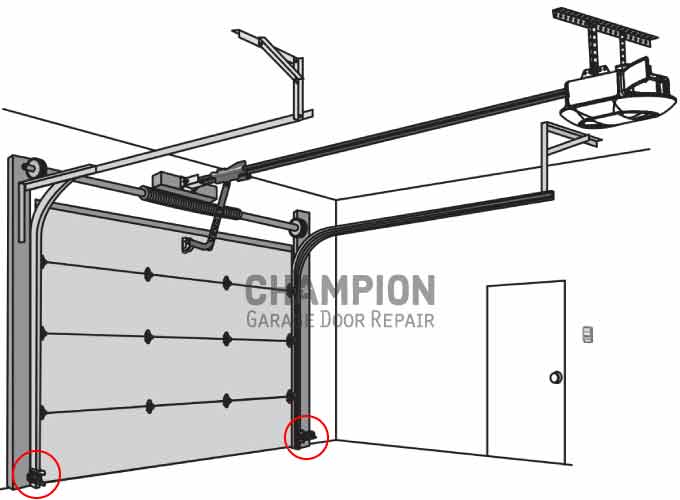
Photoelectric sensors should be mounted no higher than 6 inches above the ground, no further apart than 20 feet. The sensors bracket can be mounted either on the door’s vertical tracks or bolted to the garage’s jamb. Use a staple gun to secure the sensor’s wire to the wall and ceiling. Be careful not to pinch the wire during the process.

Constant Contact Override Function
Garage door sensors can be bypassed by pressing and holding the opener’s hardwired wall button, until the door closes completely. This allows users to close their overhead garage door when the photoelectric sensors aren’t working properly. RPM sensors cannot be overridden.
Disabling Garage Door Sensors
Garage door sensors cannot be disabled since door openers are required to have them by law. If you do not want to use the photoelectric sensors, you can mount or tape them together on the garage ceiling next to the motor head so that they are closely aligned with each other. However, this is not recommended without fully understanding all the risks involved.
Testing Garage Door Safety Sensors
You can test your garage door RPM sensor by placing a paper towel roll in the door’s path, ensuring it doesn’t obstruct the photoelectric sensors. Close the door onto the paper towel. Once the door comes into contact with the object with sufficient pressure, the opener should reverse operation.
You can test your garage door photoelectric sensors by opening the door and obstructing the sensor’s beam with an object such as a paper towel roll. Once obstructed, try to close the door. The door should not close or reverse within approximately 2 seconds. If the door doesn’t reverse, consult a licensed garage door repair company or your opener owner’s manual.
Maintaining the Sensors
Clean photoelectric sensors with a dry washcloth. Ensure that the sensors’ mounting brackets are properly secured in their position. Tighten the locking bolts. If the sensors are mounted on the tracks, tighten the tracks to the wall.
Ensure that the sensor wires are not loose and are properly secured using cable clips or a staple gun. Verify that the height of the sensors is 6 inches off the floor, neither more nor less. Test and maintain the sensors every 6 to 12 months.
Troubleshooting Garage Door Sensors
Defective sensors will typically prevent the garage door from closing properly. In some cases, the door may start to close but then reverse and open again. Several reasons can cause sensors to malfunction, including misalignment or wiring issues. When the sensors malfunction, the sensor’s LED lights may flash or turn off, often followed by an error code from the opener unit.
The first step to troubleshooting and fixing garage door sensor problems is to check for and clear any obstructions blocking the sensors. Next, clean the sensor lenses and ensure they are properly aligned. Check for any error codes from the opener and follow the troubleshooting steps outlined in your owner’s manual.


